Shower grout is not designed to last forever. If you observe your grout cracking, darkening, or crumbling upon contact, these are clear indicators of a common issue. Such symptoms suggest that your grout is approaching the end of its functional lifespan and requires immediate attention to prevent further damage to your shower area and tiles.
Fortunately, regrouting your shower is one of the most straightforward and effective solutions available to homeowners dealing with this issue. There is no need for a complete bathroom renovation or the removal of tiles. Instead, you can easily remove the old, damaged grout and replace it with fresh, new grout, successfully restoring the integrity of your shower area.
To effectively maintain your shower, it is crucial to understand the typical lifespan of grout and the various factors that can influence its durability. Gaining insight into these elements will empower you to take the necessary actions to effectively extend its lifespan and ensure your shower remains in top condition.
Mastering the Shower Regrouting Process for Long-Lasting Results
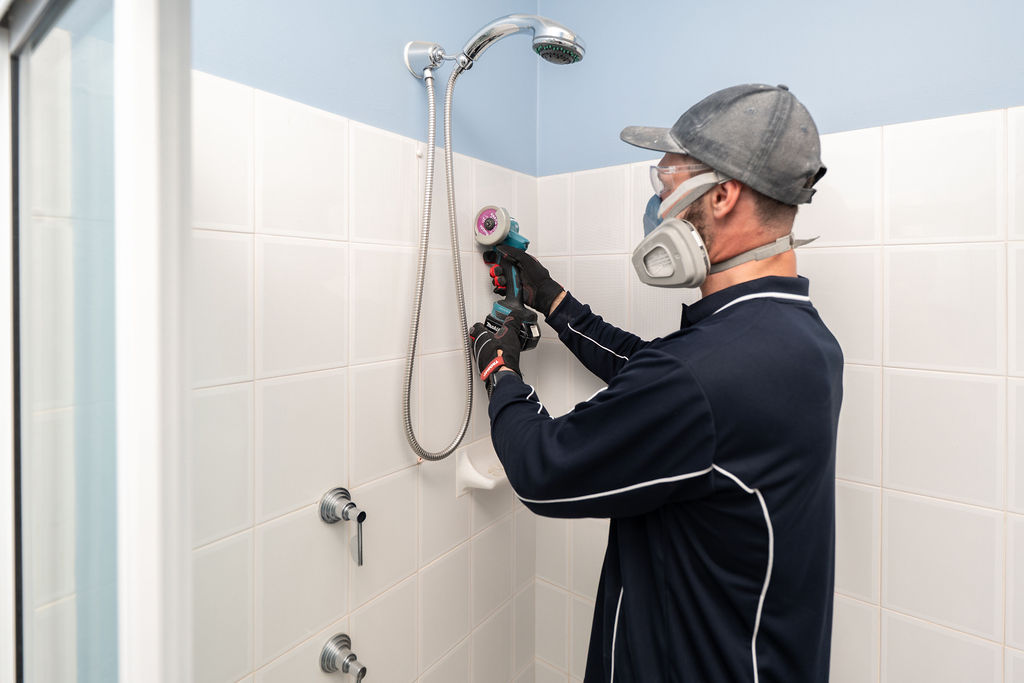
Regrouting is exactly what the term implies: the old grout nestled between your tiles is carefully scraped away and replaced with new grout. This essential process is vital for ensuring the effectiveness of your shower, protecting it from leaks and water damage.
Over time, grout deteriorates due to various factors. Water seeps into the grout, resulting in cracks, mould growth, and ultimately, its inability to fulfil its primary function of containing water within the shower area, which prevents it from leaking behind your tiles and causing structural damage.
A comprehensive regrouting process involves the complete removal of the old grout, meticulously cleaning the joints, and applying new grout that bonds effectively. When executed correctly, this method seals everything properly without disturbing the tiles themselves, guaranteeing a long-lasting solution for your shower that protects against future issues.
Regrouting should not be confused with a renovation; rather, it is a critical maintenance step that can save you money in the long run. Addressing the issue promptly is considerably more cost-effective than allowing it to escalate over time, leading to more significant repairs that could require extensive work.
What Is the Expected Longevity of Regrouting in Your Shower?
The honest truth is that a well-executed regrouting job, when performed with care, should last anywhere from 8 to 15 years. This time frame can vary significantly based on several influencing factors, which will be discussed in detail shortly to provide you with a comprehensive understanding.
It is crucial to clarify that if anyone claims that regrouting lasts forever, they are not providing accurate information. In a constantly wet environment, nothing remains intact indefinitely. Grout is continuously exposed to water, heat, cleaning chemicals, and the rigours of daily use, which inevitably leads to its gradual deterioration over time.
The primary factor in this context is proper execution. A rushed job employing inferior grout may lead to issues arising within just a couple of years. Conversely, a meticulous regrouting job, utilising high-quality materials, can easily provide over a decade of durability under most circumstances, ensuring that your shower remains functional and visually appealing for years to come.
What Factors Influence the Longevity of Your Shower's Regrouting?
Not every regrouting job is created equal. Several factors can determine why some regrouting efforts endure longer than others, and understanding these variables can help you achieve the best results.
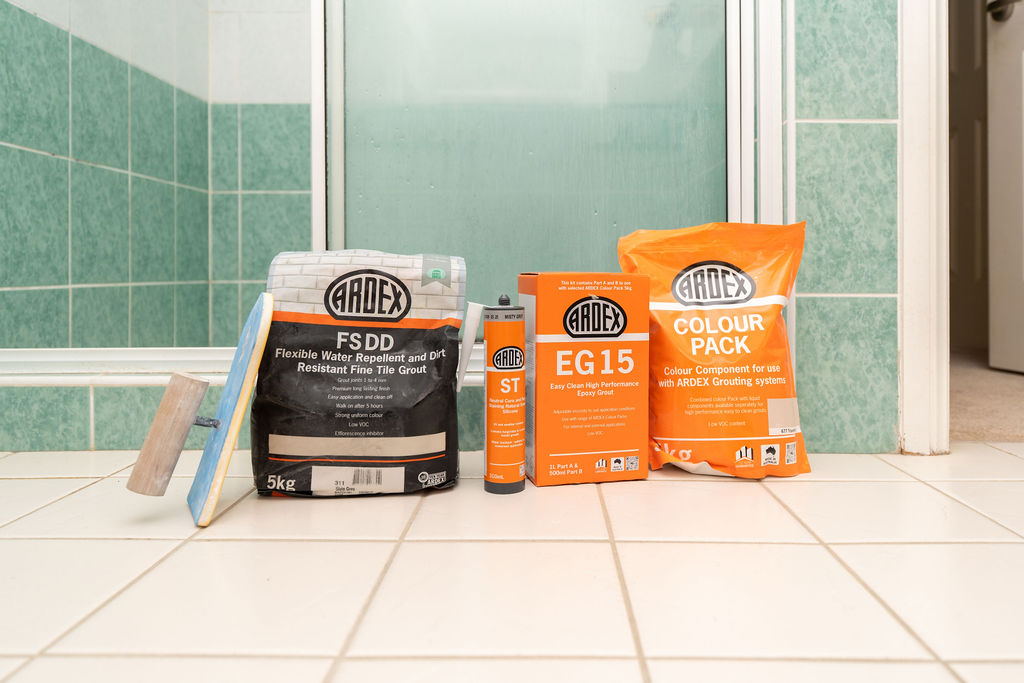
Understanding the Significance of Grout Quality
There is a notable variance in quality among different grout types. The lower-cost options found at hardware stores do not compare to professional-grade products. Higher-quality grout varieties exhibit greater flexibility, improved water resistance, and are better equipped to withstand wear and tear. Epoxy-based grouts offer enhanced durability compared to standard cement grouts, despite their higher cost and the necessity for careful application, making them a worthy investment for long-term performance.
How Shower Usage Frequency Affects Grout Durability
A shower that is used multiple times daily by a large family will experience grout wear much more rapidly than a guest bathroom that sees infrequent use. Increased water exposure leads to accelerated grout degradation—a straightforward principle of physics at play within your bathroom environment that highlights the importance of considering how often your shower is used.
Why Proper Ventilation Is Crucial for Grout Longevity
This critical factor is often overlooked. Bathrooms that lack adequate ventilation—such as those without an exhaust fan, windows, or with a malfunctioning fan—tend to retain moisture on the grout for extended periods after each shower. This situation accelerates the breakdown of the grout and encourages mould growth, which can gradually damage the grout over time and lead to further complications if left unaddressed.
If you notice that your grout continues to develop mould despite thorough cleaning efforts, inadequate ventilation is likely the root cause of the issue, highlighting the need for proper airflow in your bathroom.
Understanding the Impact of Water Pressure on Grout Integrity
High water pressure can force water into tiny gaps and hairline fractures that normal pressure would not affect. If your water pressure tends to be elevated, it places additional stress on the grout joints over time, leading to premature deterioration and potential failure. Regularly assessing your water pressure can help you manage this risk effectively.
How Cleaning Products Affect Grout Longevity
Harsh chemical cleaners can inflict significant damage on grout. Products containing bleach can strip the grout's surface, while acidic cleaners may corrode it. If strong chemicals are part of your regular cleaning routine, you are likely reducing your grout's lifespan considerably. A gentle bathroom cleaner combined with a soft brush is generally adequate for maintaining your grout without causing harm, thus preserving its quality for an extended period.
Evaluating the Quality of the Original Grout Installation
This factor is arguably the most critical of all. If the previous grout was not entirely removed before regrouting, the new grout will not bond effectively. Similarly, if the joints were not properly cleaned and dried before applying new grout, issues will arise that could compromise the effectiveness of your regrouting efforts. A professional regrouting process requires time and meticulous attention to detail, as the preparation phase is just as vital as the quality of the grout itself.
How to Identify When Your Grout Requires Replacement
You do not need to speculate about whether your grout needs replacement. Here are the signs that clearly indicate it is time for a regrout:
- Cracking or crumbling grout—if pieces fall out when touched, it is time for replacement to prevent further damage.
- Grout that has darkened or discoloured and remains stained despite your best cleaning efforts may indicate deeper issues that require attention.
- Mould appearing in the grout lines that persists even after cleaning attempts is a clear sign that the grout is compromised.
- Visible gaps between tiles where grout has shrunk or detached signal that mortar is needed.
- Water penetrating behind tiles—if the tiles feel loose or you notice damp patches on the wall, this indicates water intrusion that must be addressed.
- A persistent musty odour in the bathroom that won’t dissipate—this is a sign of trapped moisture that can lead to further issues.
If you observe one or two of these indicators, a regrout can likely resolve the issue effectively. However, if all of these signs are present, it is prudent to have a professional assess the situation behind the tiles to avoid further complications that could arise from neglect.
Clarifying the Difference Between Regrouting and Resealing
These terms are frequently confused, but they refer to distinct processes that serve different purposes.
Regrouting involves replacing the grout between tiles, the hard filler that occupies the joints and provides structural integrity.
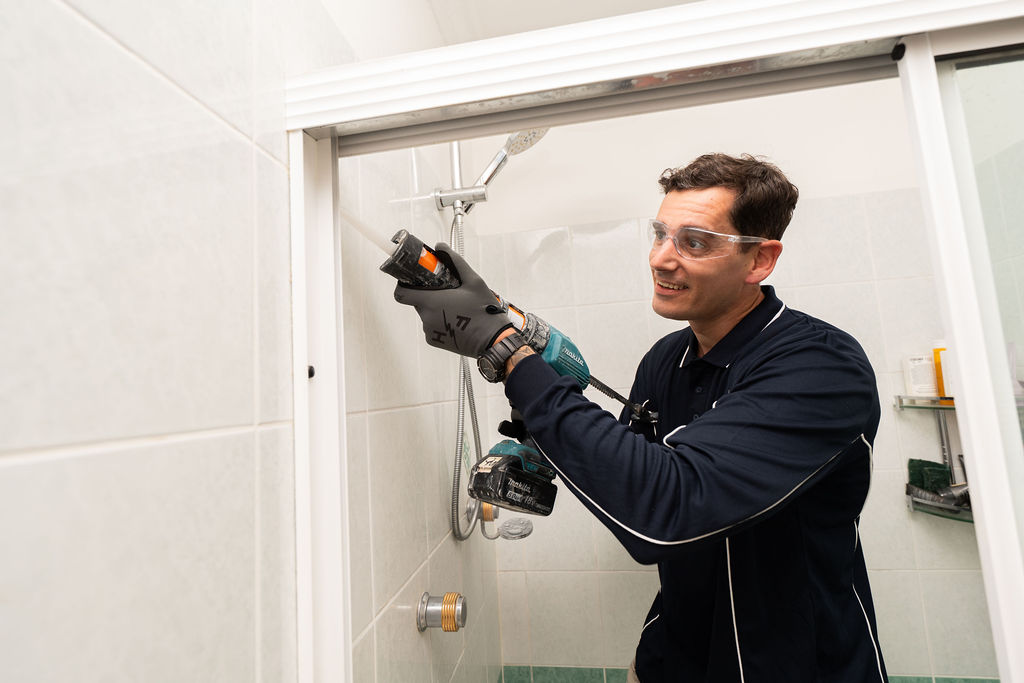
Resealing pertains to replacing the silicone sealant, the flexible material located where the shower tray meets the wall, where tiles meet the bath, or around fixtures. Silicone is designed to flex with movement, whereas grout remains rigid and does not adapt to shifts.
Both processes can fail, leading to potential water ingress. Often, a leaking shower necessitates both regrouting in the tile joints and resealing in the movement joints. These two methods work in tandem and complement one another to provide a comprehensive solution.
If someone carries out only the regrouting while neglecting deteriorated silicone (or vice versa), a water entry point remains unresolved, potentially leading to significant issues that could compromise your home’s structure.
Recognising When Regrouting Alone Isn’t Sufficient to Solve the Issue
At times, the issue extends beyond just the grout alone and may require a more thorough investigation.
If water has infiltrated behind the tiles for an extended period—potentially months or even years—it may have compromised the waterproofing membrane underneath. This membrane plays a vital role in preventing water from entering the wall cavity and the structure of your home, safeguarding against moisture damage.
If the membrane has failed, merely regrouting will not resolve the underlying problem. Water will continue to breach the surface, even with fresh grout applied on top, leading to further complications.
Signs that indicate a membrane issue include:
- Ongoing dampness on the wall outside the shower area, suggesting water is escaping.
- Swelling or bubbling paint in adjacent rooms, indicating moisture accumulation.
- Loose tiles or tiles that sound hollow when tapped, signalling potential structural issues.
- Water pooling on the floor below (especially if the shower is located upstairs), which can pose serious risks to your home.
It is essential to address these concerns promptly. Investing in a $1400-$2600 regrout now is far more economical than facing a much larger waterproofing job later, particularly if water has been allowed to accumulate behind your tiles for an extended period without intervention.
Essential Insights About Regrouting for Homeowners
A well-executed regrouting job can deliver years of effective service and performance. It stands as one of the most cost-effective solutions to remedy a leaking or ageing shower without necessitating a complete overhaul of your bathroom.
However, it is crucial to remember that it is not a “set it and forget it” solution. Regular monitoring is vital for ongoing success in maintaining your shower. Ensure your bathroom is well-ventilated, avoid excessive use of harsh chemicals, and promptly address any cracks or signs of wear as they appear to extend the life of your grout.
If you are uncertain whether your shower requires regrouting, resealing, or another solution, it is wise to seek a professional evaluation. A quick inspection can clarify your situation and outline the associated costs to rectify any issues effectively, saving you time and money in the long run.
Common Questions About the Regrouting Process
What is the typical cost of shower regrouting in Sydney?
The cost can vary based on the size of the shower and the condition of the existing grout. As a general guideline, expect to pay a minimum of $400 for a standard shower regrout. If silicone work or additional repairs are necessary, the overall cost will increase. For an accurate figure, contact us for a tailored assessment of your specific shower and its needs.
Is it feasible to regrout my shower myself?
While it is possible to purchase grout from a hardware store and attempt a DIY job, many such regrouts fail prematurely. This often occurs because the old grout was not entirely removed, the joints weren’t adequately cleaned, or the incorrect type of grout was utilised. If your shower is leaking, a failed DIY attempt will allow water to continue infiltrating, leading to further complications that could escalate the issue.
How long should I wait before using the shower after regrouting?
Generally, you should wait for 24 to 48 hours. Grout requires sufficient time to cure before being exposed to water. Rushing this process and using the shower too soon is one of the quickest ways to ruin a freshly completed regrout, leading to further repairs and costs.
Will regrouting resolve a leaking shower?
If the leak is due to failed grout, then yes, regrouting effectively removes the water entry point. However, if the waterproofing membrane behind the tiles has also failed, regrouting alone will not fully rectify the leak. This is why a thorough assessment is crucial rather than relying on assumptions that could lead to poor outcomes.
Is regrouting the same as retiling?
No, regrouting involves replacing the grout between existing tiles while keeping the tiles themselves in place. Retiling, on the other hand, entails removing tiles and installing new ones, which is a significantly larger and more costly task. In most instances, the tiles are still in good condition; it is primarily the grout that requires attention to restore functionality.
How can I determine if my shower requires regrouting or waterproofing?
If you notice cracked or missing grout and observe water where it shouldn’t be, begin with a professional inspection. A qualified expert can identify whether the issue lies with the grout, silicone, membrane, or a combination of these factors. This way, you can effectively address the right problem the first time, avoiding unnecessary expenses and complications.
Original Article First Published At: How Long Does Shower Regrouting Actually Last?
The Article: Shower Regrouting: How Long Will It Last? first appeared on https://writebuff.com
The Article Shower Regrouting Longevity: How Long Will It Last? Was Found On https://limitsofstrategy.com
The Article Shower Regrouting Longevity: Duration and Care Tips found first on https://electroquench.com